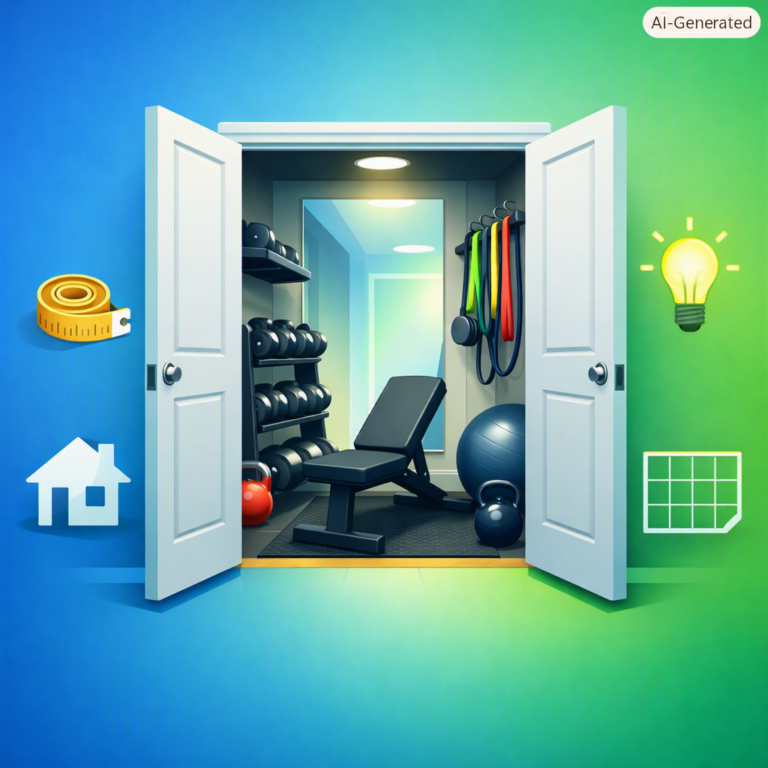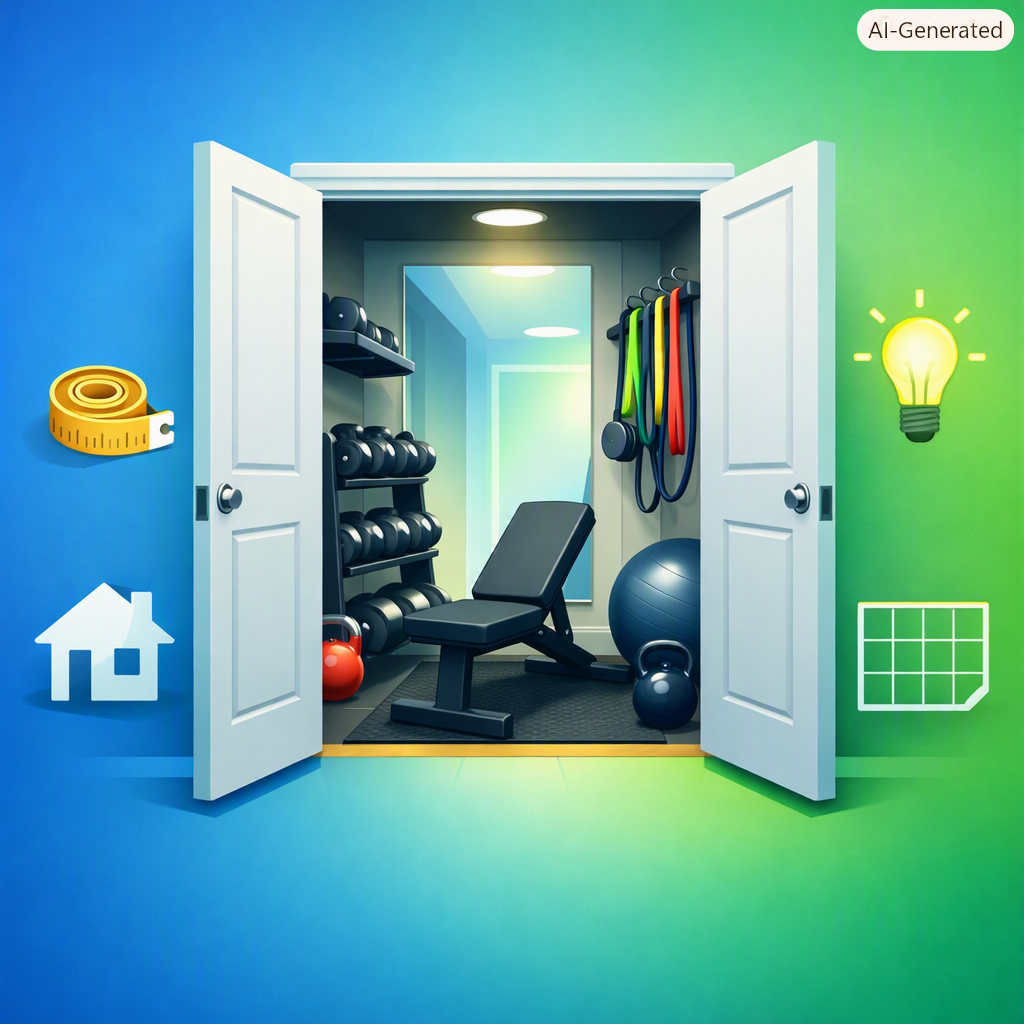
Turn a Closet into a Workout Room: The Definitive Guide to Maximizing Space in a Small Home Gym
You don’t need a spare bedroom or a basement to build a functional workout space. Whether you’re working with a corner of the living room, a garage nook, or a repurposed walk-in closet, the biggest challenge isn’t the size—it’s the strategy. Small spaces can kill motivation fast if they feel cramped or chaotic. But with the right plan, you can pack serious functionality into a tiny footprint.
This guide walks you through practical steps to maximize space in a small home gym without sacrificing the equipment you actually need. You’ll learn how to choose gear, arrange your layout, and store everything efficiently so your workout zone stays usable and inviting.
What You’ll Need Before You Start
Before rearranging furniture or buying equipment, take inventory of your space and goals. This prep work prevents wasted money and clutter.
Measurements and Layout Tools
- Measuring tape
- Painter’s tape for marking equipment footprints
- Level app or bubble level for mounting shelves
Storage and Organization Basics
- Wall-mounted pegboard or slatwall panels
- Heavy-duty hooks and brackets
- Foam floor tiles (minimum 48 sq. ft.)
- Bungee cords or tension rods for cabinet organization
Space-Saving Equipment Picks
- Adjustable dumbbells (Bowflex SelectTech 552 or PowerBlock Elite EXP)
- Foldable weight bench (REP Fitness FB-5000)
- Compact adjustable kettlebell (Kettlebell Kings Adjustable)
- Pull-up bar + rings (Iron Gym doorframe bar)
Step 1: Define Your Training Zones
Even in a small room, you need three functional areas: a floor exercise zone, a strength zone, and a cardio/stretching zone. These zones overlap, but planning them prevents frustration.
- Zone 1 (Wall): Pull-up bar, mounted bands, hooks for accessories.
- Zone 2 (Center Floor): Foam tile area for yoga, ab work, dumbbell flow.
- Zone 3 (Corner/Doorway): Foldable bench stored vertically.
Use painter’s tape to mark equipment footprints and walk through your workout to ensure nothing blocks movement.
Step 2: Prioritize Vertical Storage
When floor space is limited, build upward. Wall space is for storage; floor space is for movement.
Install Pegboard or Slatwall
A 4×8 slatwall panel can store bands, kettlebells, ropes, and accessories. Steel pegboard systems like Wall Control hold heavy loads and look clean.
Hang Your Bench and Mats
Use heavy-duty hooks to mount a foldable bench and foam mats on the wall.
Ceiling-Mounted Options
Ceiling anchors can hold rings, suspension trainers, or a light punching bag. Always mount into a solid beam.
Step 3: Choose Multi-Functional Equipment
Every piece of equipment should serve at least three exercises. Avoid machines that only do one thing.
Adjustable Dumbbells
Replace 15 pairs of dumbbells with one adjustable set.
Resistance Bands
Loop bands with a door anchor allow rows, presses, curls, glute work, and more.
Adjustable Kettlebell
One kettlebell replaces multiple weights and supports swings, snatches, presses, and carries.
Foldable Cardio Options
Walking pads, jump ropes, and compact under-desk ellipticals save space and deliver effective cardio.
Step 4: Create a Staging Area
If your gym shares space with living areas, create a staging zone—a shelf, rolling cart, or bin—for daily-use gear. Everything else stays stored.
Example Setup Routine (6×8 Space)
- Slide foldable bench to center
- Roll out foam mat
- Grab adjustable dumbbells and kettlebell
- Attach door anchor for band work
Step 5: Optimize Lighting and Airflow
Small spaces feel smaller when dim or stuffy. Fix this cheaply:
- Use bright daylight LED bulbs (5000K)
- Mount a small oscillating fan
- Add a full-length mirror to visually double the room
Step 6: Use a “Daily Load” Rotation
Rotate gear seasonally or by training block. Keep essentials out permanently; store specialty items until needed.
Common Mistakes to Avoid
Mistake 1: Oversized Power Racks
Skip full cages in small rooms. Use squat stands or dumbbell variations instead.
Mistake 2: Storing Gear on the Floor
Floor storage kills space. Mount everything you can on the wall.
Mistake 3: Ignoring Door Swings
Always account for how the door opens and traffic flow.
Mistake 4: Poor Noise and Floor Protection
Use thick foam tiles and rubber mats to protect floors and reduce noise.
Frequently Asked Questions
Can I get a full workout in a 6×8 space?
Yes. Adjustable dumbbells, bands, a pull-up bar, and a foldable bench cover all major movements.
Best floor covering?
Interlocking foam tiles (3/8–1/2 inch). Add a rubber stall mat for heavy lifts.
How do I prevent musty smells?
Improve airflow, clean mats regularly, and wash bands and towels often.
Should I buy an adjustable bench?
Yes. Adjustable benches offer multiple pressing angles and fold for storage.
How many resistance bands do I need?
Three: light, medium, heavy. Avoid oversized sets.
Final Thoughts
Maximizing a small home gym comes down to three principles: choose multi-functional gear, store everything off the floor, and create a fast setup routine. You don’t need a huge room to build strength or improve cardio. A small, well-organized space can be more effective than a cluttered commercial gym.
Start small. Measure your space, buy core adjustable equipment, and mount a pegboard. After two weeks of consistent workouts, you’ll know exactly what works and what doesn’t.
Affiliate Disclosure: This page may contain affiliate links. We may earn a commission at no extra cost to you.